

Headlight Trouble Leaving You in the Dark? Here's How to Clean Foggy, Cloudy, or Hazy Headlights
- Vehicle Maintenance
- PEAK
- July 29, 2025
Here's a breakdown on how to clean foggy, hazy headlights.
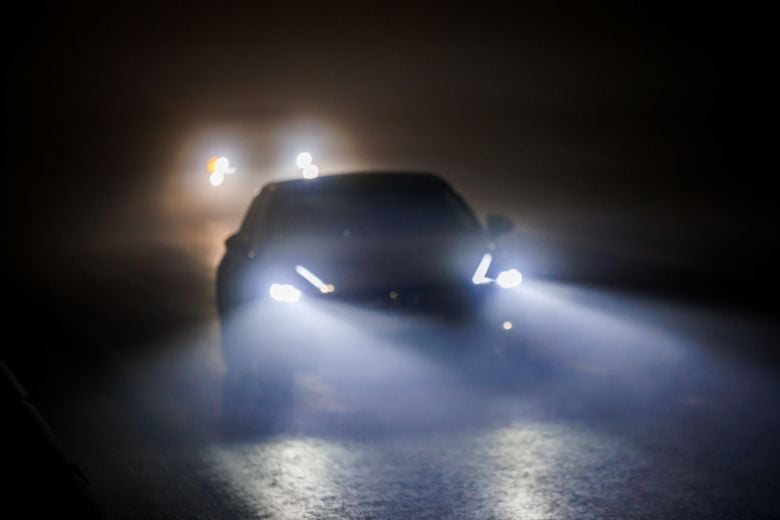
Headlights often become cloudy or foggy over time, usually due to a combination of environmental factors and oxidation. If you're noticing that your headlights seem yellowed, dim, or hazy, a headlight restoration project should be in the cards.
An American Automobile Association (AAA) study found that cloudy or yellowed headlights may produce as little as 22% of the light you'd get from a brand-new set. That's a huge performance loss — and could endanger your safety.
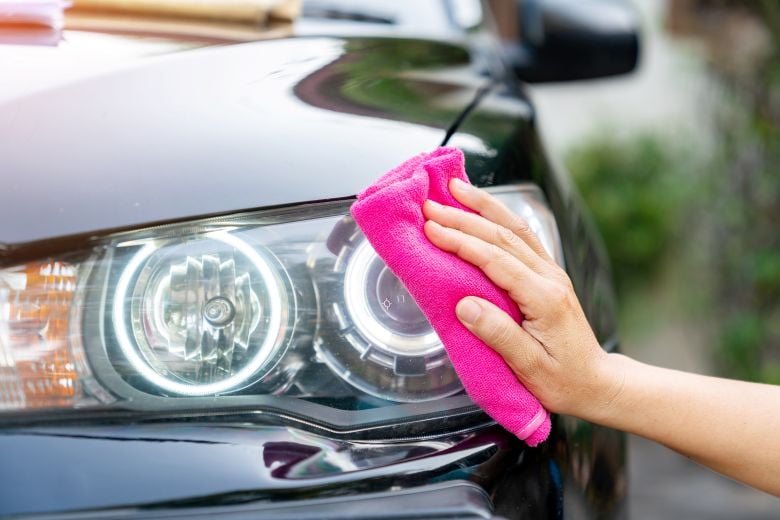
So, how do you clean headlights and restore their brilliant shine? There are several methods: professional headlight restoration kits are a popular option, and so are DIY solutions that use common household products to cut through foggy, filmy headlight haze.
Headlight restoration kits: What they are and how they work
If you're wondering how to clean foggy, cloudy, hazy, and dull headlights, you may want to try a commercially manufactured restoration kit. Their contents vary, but kits usually include sandpaper of various grit sizes, a polishing compound, and applicator pads for the power tools you'll use to clean your headlight lenses.
You'll also need:
- A household electric drill (your kit may require that your drill is rated to operate within specific RPM ranges)
- Automotive masking tape
- Spray bottle filled with clean water
- Liquid soap
- 1-2 microfiber cloths
- Safety glasses and respiratory personal protective equipment (PPE)
Apart from the drill, your kit may include some or most of these items. If not, you'll need to purchase them separately.
Exact instructions vary, and you should always follow the directions included with your kit. In general, though, here's how the process works:
- Put on your safety glasses and respiratory PPE.
- Use a clean cloth to wash each headlight's lens with soap and water. Allow each lens to dry.
- Apply masking tape around the edges of the headlight lens to protect the vehicle's body and paint.
- Attach the sanding pad to the drill and use the drill at the rated RPM speed to work the sandpaper across the lens. Use light, even back-and-forth pressure to remove surface residue. Don't press too hard — you could damage the lens and make it harder to clean.
- Once the residue is gone, use the spray bottle to apply water mist and continue sanding the headlight with finer sandpaper grits as directed in your kit's instructions.
- When the headlight lens appears clear, use a drill-mounted applicator pad to apply polish.
- Remove the masking tape and wipe the polished lens clean with a dry microfiber cloth.
You may need to repeat this entire process several times or use multiple kits to get the results you're after.
Will the effects last?
According to third-party consumer reviews, headlight restoration kits will significantly improve the way your headlights look and perform. However, you shouldn't expect the improvement to last forever. Chances are your headlights will gradually become cloudy and hazy again as debris builds up and UV rays continue to degrade your lens components.
You can ward off illumination problems by using a headlight restoration kit to clean your lenses about once a year.
DIY headlight restoration: A how-to guide using common household products
If you don't have an electric drill or prefer not to use a commercial headlight restoration kit, you can try the toothpaste method. Toothpaste contains mildly abrasive compounds that help remove oxidation and debris from the plastic surfaces of your headlight lens.
For this method, you'll need:
- Toothpaste that contains baking soda
- A clean microfiber cloth
- A bucket filled with clean water
Here's what to do:
- Squeeze a pea-sized amount of toothpaste onto the microfiber cloth.
- Apply the toothpaste directly to the headlight lens without adding water. Using firm circular motions, scrub the entire lens with toothpaste for several minutes.
- Rinse the cloth in clean water, then use the damp cloth to wipe the headlight lens clean.
- Inspect the results and repeat the process as necessary.
It may take multiple passes to achieve the results you want, and this method will work best if your headlights have only mild to moderate oxidation and residue buildup.
Manual sanding and polishing
This method requires some good old-fashioned elbow grease, but it can lead to excellent results if you're patient and diligent. You'll need an orbital sander, along with:
- Eye and respiratory PPE
- 320-, 800-, 1000-, 1500-, and 2500-grit sandpaper
- Lens polishing compound
- Clear coat or UV protectant compound
- Microfiber or soft steel wool polishing pads compatible with your sander
- Automotive masking tape
- Rubbing alcohol
- Spray bottle filled with clean water
For one-stop shopping, a home improvement retailer or department store with an automotive section will likely be your best bet.
Follow these steps:
- Put on PPE and apply the masking tape to protect the painted auto body surfaces around the headlight lenses.
- Starting with coarse (320-grit) sandpaper, sand the lenses using a firm left-to-right motion.
- Wipe off debris, rinse the lens, and repeat these steps using successively finer (800, 1000, 1500) grits. Change your sanding direction as needed to work out any scratches that appear in the lenses.
- Use the 2500-grit sandpaper for your final sanding. Continue until you're left with a smooth, scratch-free lens surface.
- Attach a polishing pad to your orbital sander, apply your polishing compound to the pad, and use the sander to polish your headlights until the lenses come clear.
- Dampen a clean, dry cloth with rubbing alcohol and wipe down the lens to remove any remaining residue.
- Finish by applying the clear coat or UV protectant to your treated headlight lens.
Whew! That was hard work, but you saved yourself some money. If you'd rather save yourself the labor, you can bring your car to an automotive service center to have a technician clean your headlight lenses for you.
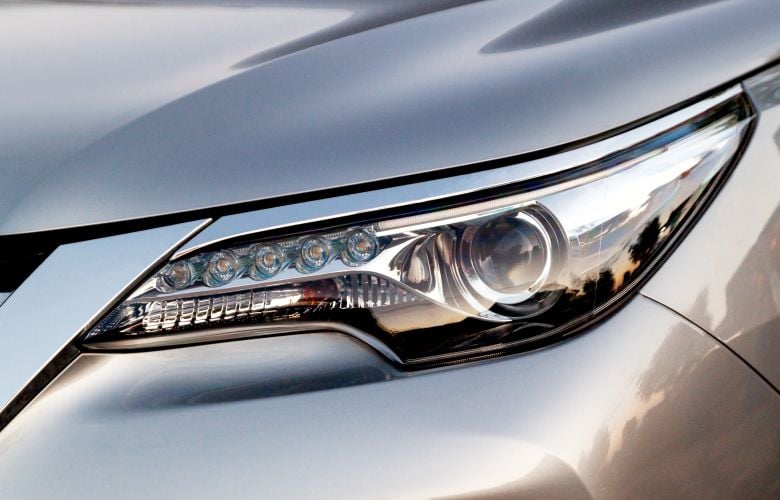
Is it time to replace your headlights?
While headlight restoration efforts can help, sometimes there's only so much you can do. As the AAA notes, replacing your headlights is the best way to fully restore their original brightness. If you're still finding your nighttime visibility lacking after a DIY or do-it-for-me cleaning, it might be time for new lenses and bulbs.
When that time comes, consider PEAK's replacement capsule headlights for premium performance at an economical price. Some of our most popular options include:
- PEAK Power Vision Xenon: Designed to provide a brighter, whiter light for improved visibility and a more luxurious look on vehicles.
- PEAK Power Vision Gold: Offers the brightest halogen with improved visibility, helping you see every detail of the road more clearly.
- PEAK Power Vision Silver: Offers high performance halogen headlights with improved visibility, delivering a brighter and whiter light compared to our standard PEAK headlights.
PEAK has an extensive autmotive lighting offering that consists of premium capsules, standard capsules, LED fog lights, LED miniatures, standard miniatures, sealed beams, and LED sealed beams.
In keeping with the DIY spirit, consult this guide on how to change headlight bulbs — it explains everything you need to know to save money on installation and get the most out of your new PEAK headlights.